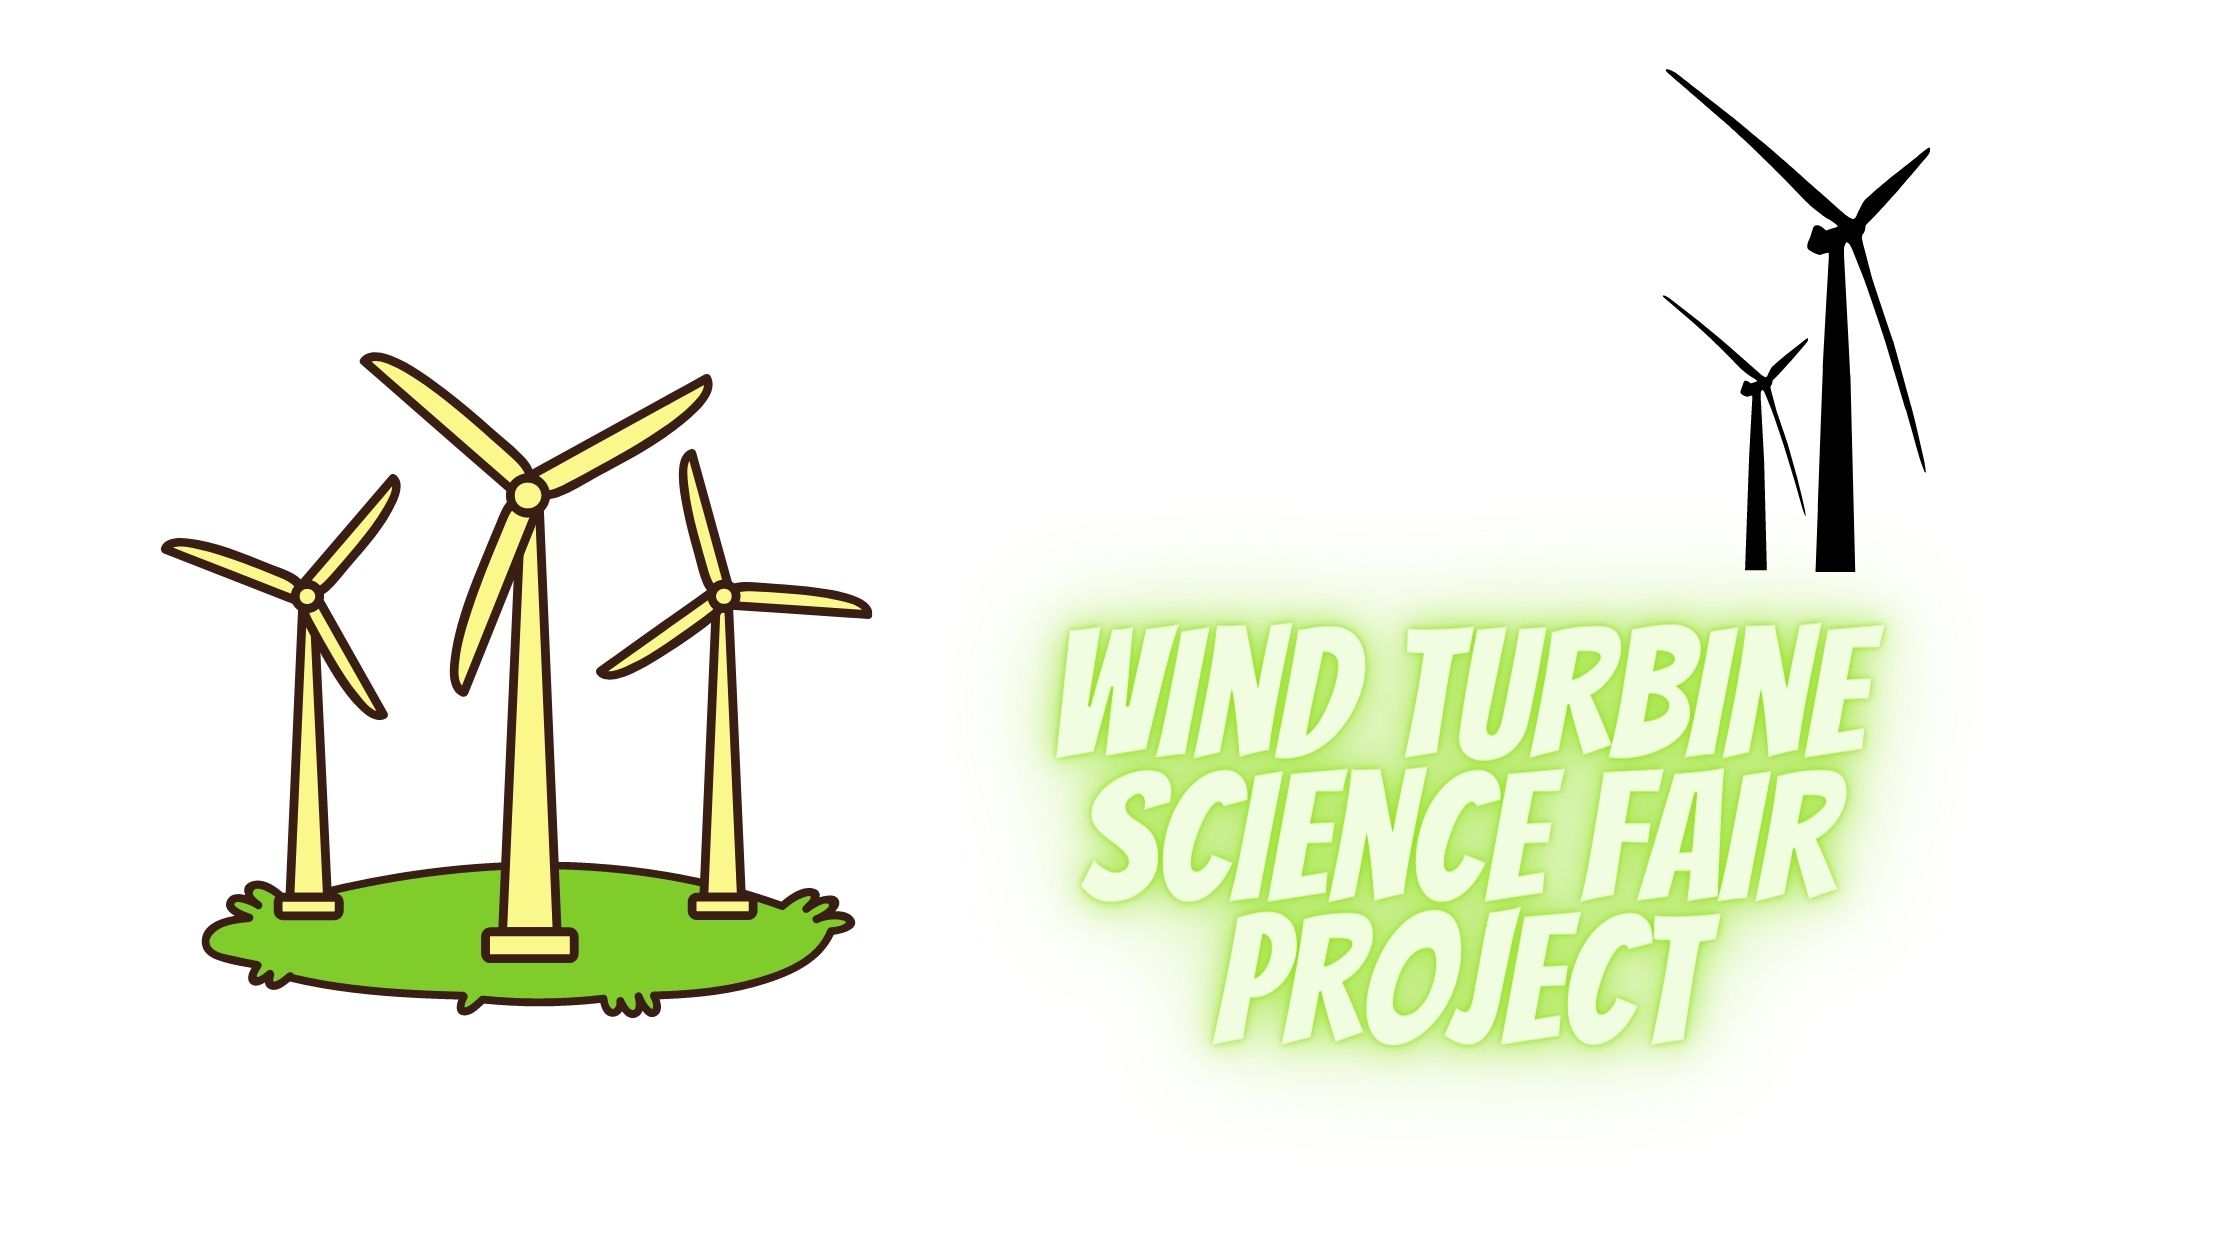
Wind turbine science fair project
Wind power is a renewable form of energy. It is very cost-effective and can be used to perform multiple tasks. Generally, wind turbines are located at higher places or near the sea. Wind turbines are energy efficient and can convert 20 to 40 wind into energy. It is a pollution-free way to generate energy. In simple terms, a wind turbine can generate mechanical energy. You will be shocked to know that Wind energy is also coming from the sun. Sun is the ultimate source of energy and, wind energy is no exception to it. The land heats up faster than the ocean and, because of this, Hot air moves upwards, and cool air takes its place. This movement is known as wind. This movement of hot and cold air is known as the convention.
A wind turbine has five significant parts.
These five significant parts are base, nacelle, rotor, tower, and generator.
When the wind blows, it spins the blades around the rotor and, then it also rotates the generator.
Objective
The objective of this project is to find how wind energy works? This experiment will help you to understand the basic understanding of how a wind turbine works.
Theory- To prove that a wind turbine generates mechanical energy and electrical energy.
Abstract
Sustainable energy sources are the need of the hour. Wind energy is a sustainable and renewable energy source and, it can generate electricity too. Wind power also comes from the sun. A wind turbine converts wind’s kinetic energy into mechanical energy. When wind touches the turbine blades, it starts rotating. Rotation of the blades turns the turbine. It also moves a drive shaft connected with the generator. The generator turns on and starts generating electricity. Turbine blades and wind speed also play a significant part in this.
Procedure
Material for the Project Experiment- Small electric motor, Cardstock paper, fan, Pencil with eraser, Straight pin, Ruler, insulated copper wire, 1.5-volt bulb, and bulb holder.
Preparations- Take the cardstock paper and cut a 4 feet square.
Experiment
1. Now, take a ruler and draw diagonal lines from one corner to another. Cut the diagonal lines till you are 3/4 inch away from the center of the square.
2. Now, Fold and pin all the layers with each other with the help of staple pins.
3. Now, take a straight pin and pin all four blades into the eraser. Pinwheel is ready.
4. Place this pinwheel in front of a fan and watch them spin.
5. Take out the pinwheel and connect it to the motor shaft. Try using masking tape for a better fit.
6. Take an insulated wire and connect the motor wires with the bulb.
7. Now, again place it in front of the fan. Your bulb will start glowing.
Observation
When placed in front of a more strong fan, the light bulb glows brighter and, it also confirmes that electricity is being generated from wind power. The amount of energy also depends on the size of the pinwheel. The wind power can also be measured by a digital multimeter. A multimeter can easily measure energy.
Conclusion
When we place the pinwheel in front of a fan, it starts spinning which, is a form of mechanical energy. This mechanical energy got converted into electricity with the help of a motor. This experiment proves that wind carries mechanical energy which, can also be converted into electrical energy. Wind energy depends on the blade length and turbine size. The strength of the wind is also substantial for generating electricity. If we increase the wind strength two times, the wind power increases eight times.